In this guide, professional photographer Ruth Gilmour explains the different product photography styles, and shares expert tips on capturing great product images for your website.
First impressions matter: Make your products look their best
Your product might be amazing, but if the photos don’t do it justice, people won’t buy. Blurry, dark, or cluttered product shots scream “unprofessional.” The good news? You don’t need fancy gear to make your products look great. You just need the right light, a great composition, and a few tricks up your sleeve.
Setting the scene: choosing the right product photography style
Product photography falls into two main styles: lifestyle photography and controlled environment/studio photography.
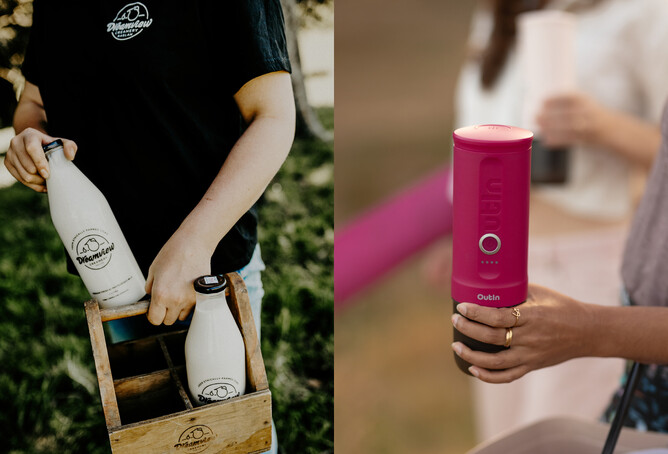
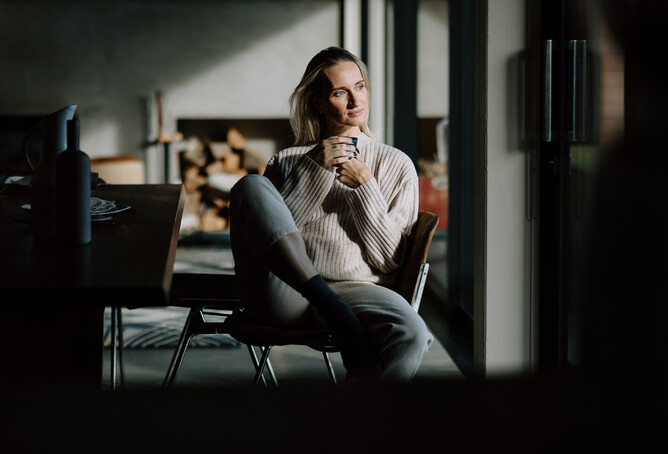
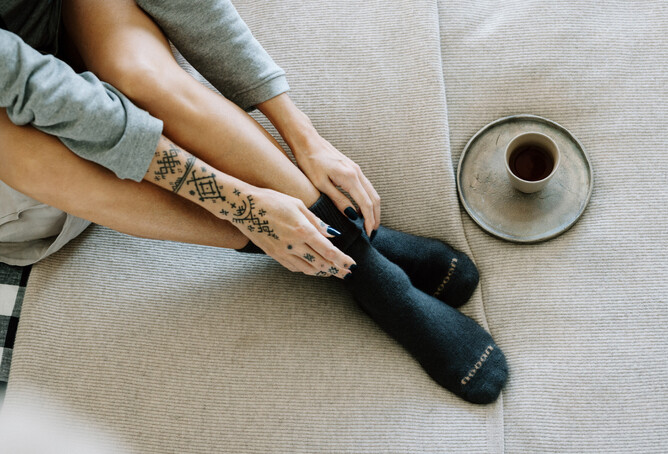
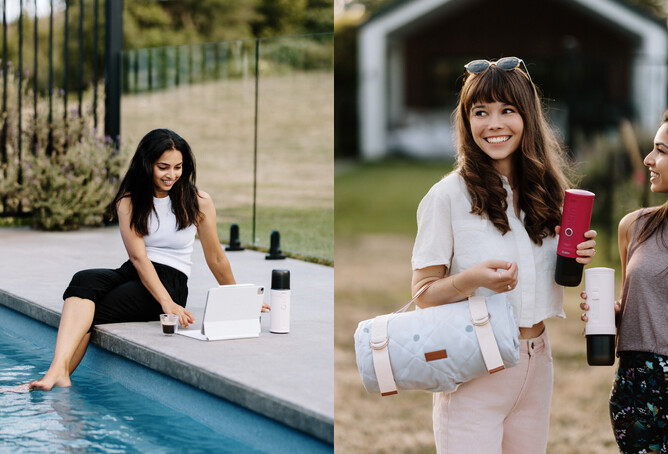
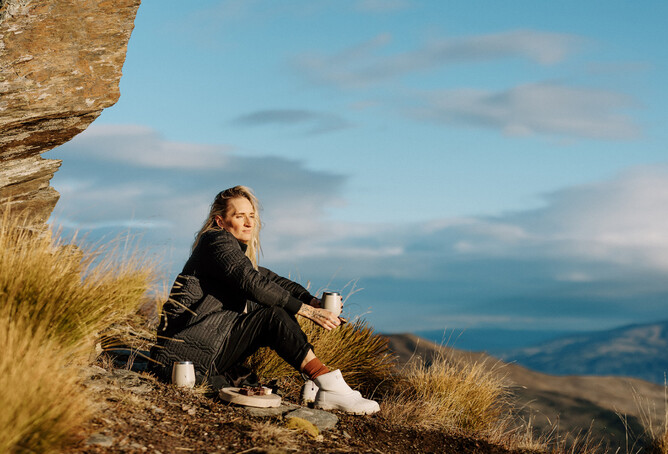
Lifestyle photography shows your product in action, helping customers imagine it in their daily lives. This style creates a connection by portraying the product in relatable, real-world settings, which can trigger emotions and make it easier for customers to visualise themselves using it.
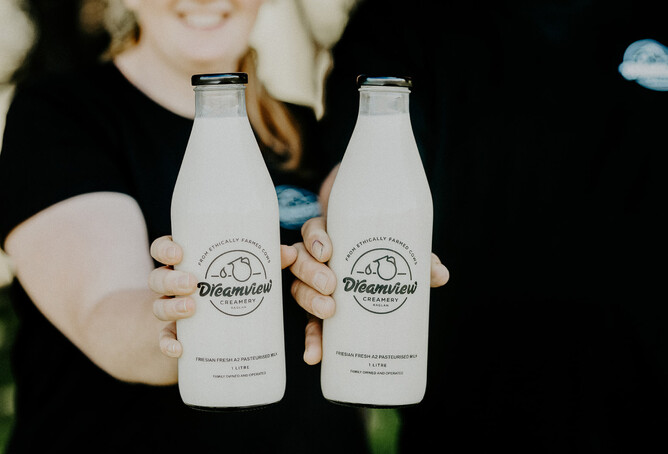
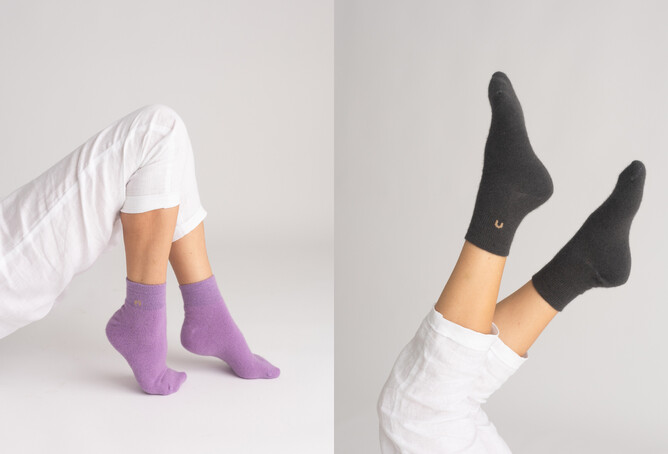
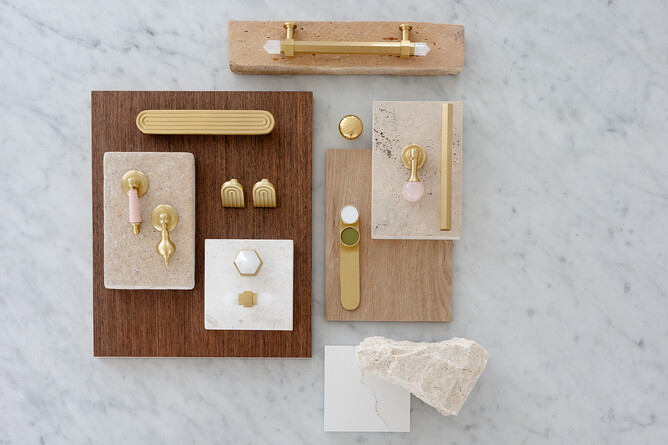
Controlled environment photography focuses on clean, distraction-free images that highlight product details such as accurate colour and scale/size of the product.
When used together, these two styles create a strong visual story—lifestyle shots capture attention and emotion, while controlled environment images provide clarity and professionalism.
Clear, high-quality images help customers see exactly what they’re getting, increasing trust and sales. Whether you need crisp product listings or engaging lifestyle shots for ads, great product photos make all the difference.
Lighting: the game-changer for product photos
Controlled environment photography is usually done indoors and often relies on artificial lighting to achieve a polished, uniform look. Using artificial light allows you to recreate the same setup for future shoots, ensuring consistency across your product images.
Lifestyle images, on the other hand, can be shot indoors or outdoors, using either natural or artificial light depending on the setting and look you want to achieve. Understanding how to work with different lighting conditions is key to making your product look its best.
General lighting tips
Make sure you are looking at the direction of the light and where it is hitting the product. If you want shadows, place your product so the light hits from one side. If you want lighting from the front for more even light, place the product so it's facing into the light. The light should be hitting the product, the photographer's back should be to the light source. If you are using people in your product photography, you can find more people photography tips here.
Natural light: inside
Place your product near a window with soft, diffused light.
Use a white sheet or sheer curtain to soften harsh light. Use a white reflective object (like a foam core board) if you want to fill shadows on one side.
Natural light: outside
The best time for soft light is early morning or late afternoon, as close to sunrise or sunset as you can get!
Avoid direct sunlight—it creates harsh shadows and glare. Occasionally this might fit with the creative brief in which case go for it!
Artificial light
Softbox lights or ring lights can create consistent lighting. For larger objects you might need two lights, both at 90 degrees of your subject for even light coverage.
Avoid using multiple light sources with different colours in one shot (e.g., warm indoor lights + cool daylight).
A light tent (mini studio) is great for small products that need even lighting from all sides.
Composition: The difference between average and pro-looking shots
The way you position your product in the frame makes all the difference.
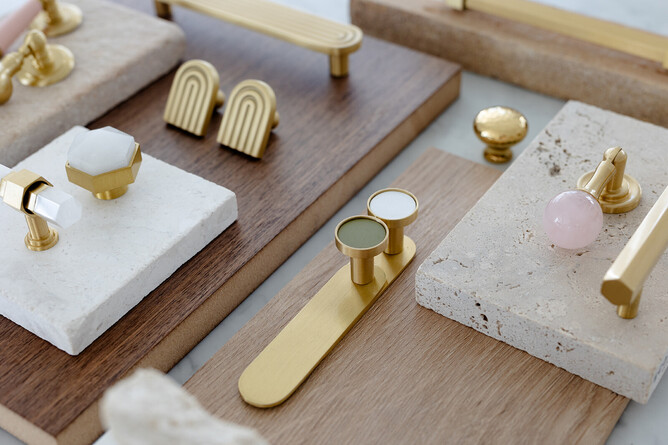
For simple product shots a plain white or neutral backdrop works best. A table against white paper or a plain white wall works great if you don’t want to buy a photography backdrop.
Use leading lines (like a table edge) to draw the eye to the product.
Try different angles—overhead for flat-lays, straight-on for labels, 45-degree angles for depth. A lower angle will give a sense of height and exude authority or power. A higher angle will shorten the product which can be useful for taller objects that all need to fit in frame. Be careful not to distort the product when using angles - keeping the product closer to the centre is less likely to create distortion.
Leave negative space around your product if you need to overlay text later.
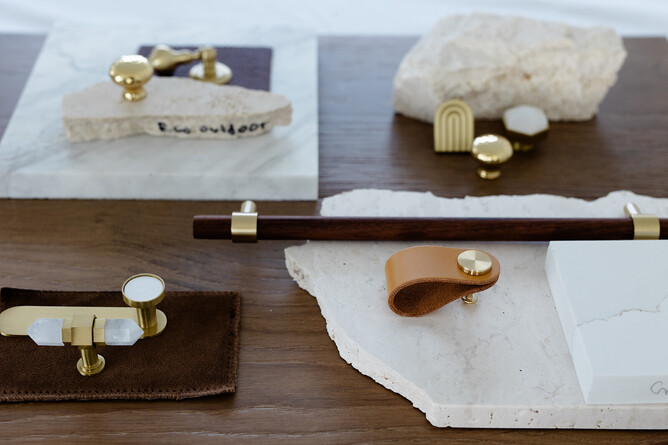
Styling & Props
Props can enhance a product shot, but clutter will kill it. Stick to a simple setup that supports the product without stealing the focus.
Think about storytelling and providing context—what setting best showcases your product in use?
Use relevant props—think fresh ingredients for food, plants for natural skincare, or a cup of coffee for lifestyle shots.
Keep it on-brand—earthy and organic brands might use wood or linen, while a modern brand might go for clean, minimal styling.
Textures and surfaces like tiles, coloured papers or fabrics photograph well. Make sure the colours of these are on brand and work with the colours of your products.
Editing: The final touch
Even a great photo needs a little polish.
Use an editing app like Snapseed or Lightroom Mobile for finishing touches.
Bear in mind that using a preset will adjust the colour, keep an eye on your colours and tones to ensure they are accurate
Adjust brightness & contrast to make the product stand out (but don't take it too far!).
Crop & straighten so everything looks neat.
Use the same approach each time to create consistent edits so all your photos have the same look and feel, this will help them be recognisable to your audience.
Make your products stand out
Your photos don’t have to be perfect—they just have to be clear, consistent, and professional enough to make people want to buy. With a few simple tricks, you can create high-quality product images that make your website shine. And if you ever want to level up, a pro photographer can take things to the next level!
About the author
Ruth Gilmour is a commercial photographer who specialises in helping businesses create powerful imagery for their brand. You can see more of her work at Ruth Gilmour Photography.